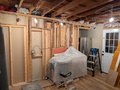
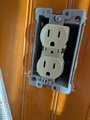
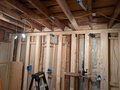
0407-sandy-kitchen
Sandy started to renovate her kitchen. Sandy and her son Eben took
down sheet rock. This exposed lots of prior badly done work. The
west wall of the kitchen was particularly bad with multiple doorways
put in without proper headers.
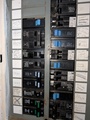
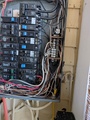
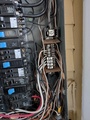
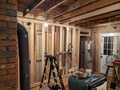
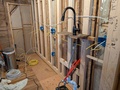
0408-sandy-kitchen
We had trouble figuring out which breaker went to where. They were
marked but not always accurately and a patchwork of prior work made
for lots of unpleasant surprises. The solution was test anything
before touching it, generally a good practice, because adjacent
outlets were not always on the same circuit.
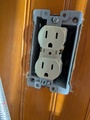
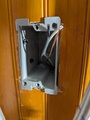
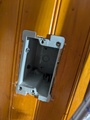
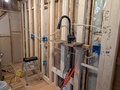
0409-sandy-kitchen
This was a particularly bad physical install, with a winged plastic
box with wings removed and sheet rock screwed to the stud.
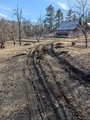
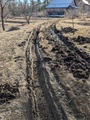
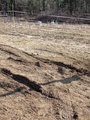
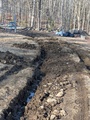
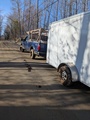
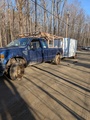
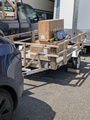
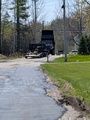
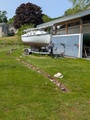
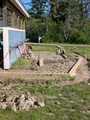
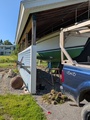
0410-will-mud-tracks
Yaicha was ready to unload the trailer to her storage unit, some
things going into Will's house. I drove up Will's driveway in the
morning with no problem since it was iced over but in the afternoon
the ice had melted, leaving mud. The truck nad trailer had to be
pulled out of the mud with hand winches.


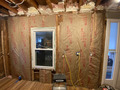
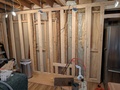
0411-sandy-kitchen
Sandy put up new insulation on the west wall only to take it down
later when her handyman/contractor planed down some studs to make the
wall less wavy. The north wall is shown with insulation down.
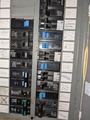
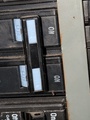
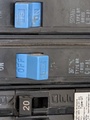
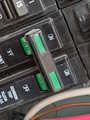
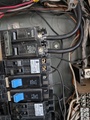
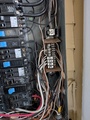
0414-sandy-kitchen
More trying to figure out breakers. The dryer is 30A with
appropriate for 30A but the breaker is 50A so needs to be changed
since its too big for the wire and appliance. All others seemed
reasonable with a few 20A where 15A would be fine.
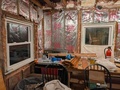
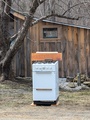
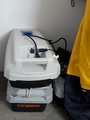
0415-sandy-kitchen
This was an old gas range that was in Sandy's house but not in use.
We put it out and someone took it the same day.
0421-brown-rice
Why a photo of brown rice? This is so Erin can pick some up at the
Asian grocery in Maryland since I can't get it locally.

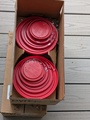
0425-mystery-boxes
So what is in the boxes? That is what I asked family via text
messages. No one ventured a guess except Sandy who guessed solar
panels. (Wrong).
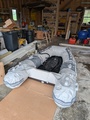
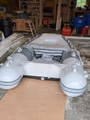
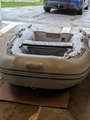
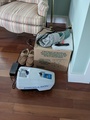
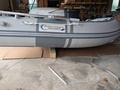
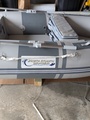
0426-dinghy+motor
What was in the boxes is a 8'2" Atlantic Inflatables dinghy and an
ePropulsion 3HP electric motor and battery. The dinghy has an
inflatable hard floor (8-10 psi) and an inflatable v-shaped keel. It
is designed to be easily rolled up and stored. There is also a seat
bag. This is the assembly and inflation steps.
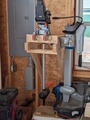
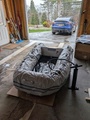

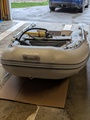
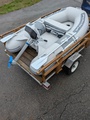
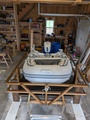
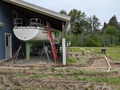
0427-dinghy+motor
Two photos show the fore and aft balance point with oars installed but
no motor. The rest are the dinghy in my 8'x5' home made trailer
(based on an aluminum frame kit). The dinghy fits perfectly almost as
if the trailer was designed for it. I put the trailer and dinghy
temporarily in the garage and the battery in a closet with the
torqeedo batteries.

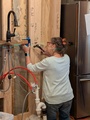
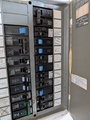
0429-sandy-kitchen
Jarad did some creative reframing on the interior wall. Sandy wanted
to use the laser level to make sure the outlets lined up perfectly.
We finally looked into the breaker box and could see why the last
electrician recommended replacing it.
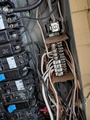
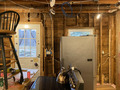
0430-sandy-kitchen
We tried to figure out which breakers went to what circuits since the
breaker box labeling was not always right and had a lot of things
crossed out for some reason. Wires started going into the newly
reframed west wall of the kitchen.

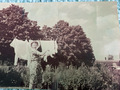
0501-istwan
These were some old photos that my cousin Kat sent. They are my
grandmother and her daughters, including my mother and Kat's mother.


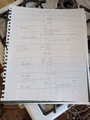
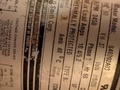
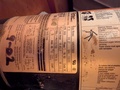
0505-sandy-well-pump
These are the labels on Sandy's well pump. It is wired for 115V so
can draw up to 10.4A making the AWG
Just checking.
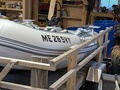
0507-dinghy-numbers
The dinghy numbers got painted on. Not perfect due to painting on a
textured surface but just fine from a small distance.

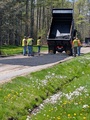
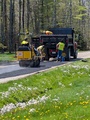
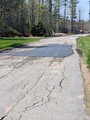
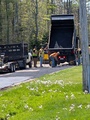
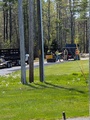
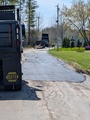
0513-road-repair
One of my neighbors complained about the condition of our road and the
giant pothole in one place. They used a half a truck on that hole
alone. This is a bandaid but the crew thought the road might be
scheduled for replacement in a year or two.

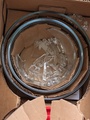
0521-shipping-fail
Either this got broken in Amazon's warehouse or by UPS in shipment. I
had to send it back but got a refund.
0525-enchilada
This was a pan of vegan enchiladas with plenty of vegan mexican cheese
and plenty of salsa.

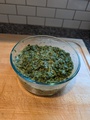
0531-spinach-tahini
This is a batch of spinach tahini and tamari with Belfast Coop local
organic spinach. It turned out well. The tamari is missing in the
ingredients photo.


0601-brocolli-soup
This is a batch of brocolli soup. This also turned out well.


0601-glazed-carrot
This batch of glazed carrots turned out well. Maple syrup, cinamon,
garlic and ginger may seem like an odd combination but it works well.


0607-chs-1975
Jo-Ann went to her 50th HS reunion. Margo decided not to go so
Shannon went in her place and took some photos.


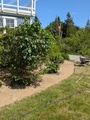
0607-rhodie
This is the rhodie in my back yard approaching peak bloom. It was a
foggy day so not the best lighting.

0607-sandy-kitchen
Sandy has the sheet rock on her kitchen walls and is now starting to
put the cabinets in.

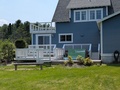
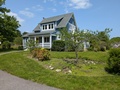
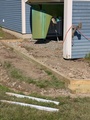
0608-deck
Ed might eventually finish painting the front porch and the deck. It
looks good but he put primer on and decided some was too wet when
pained so sanded some off to let it dry.
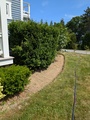
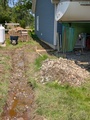
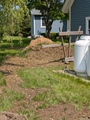
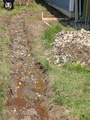
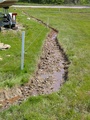
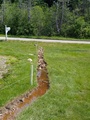
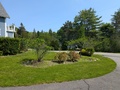
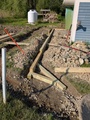
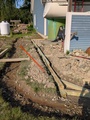
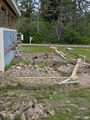
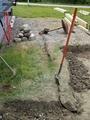
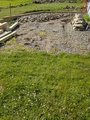
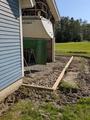
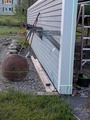
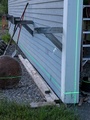
0608-drainage
One thing lead to another. The landscape in the front yard is
progressing but I have quite a few rocks there. I wanted to move the
rock pile before adding more rocks since the pile is in the way of the
retaining wall I wanted to build. The rocks were going to go behind
the retaining wall so it made sense to start it. The area was so wet
that I had to dig a trench to drain it before starting the retaining
wall. The first few boards of the wall are in place.
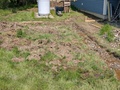

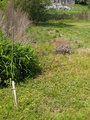
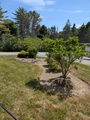
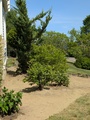
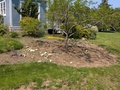
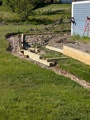
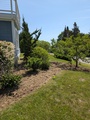
0608-landscape
The sod was removed from around the larger peach tree. The area is
almost ready to have the weeds removed again and quite a few rocks
need to be removed. At that point mulch can be added giving it a more
finished look and slowing weed growth (hopefully).


0608-rhodie
The rhodie is almost in peak bloom. The part that has bloomed is at
peak color.


0609-rhodie
All of the rhodie flowers are open than the color hasn't started to
fade quite yet.


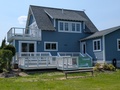
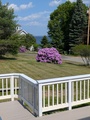
0611-rhodie
This looks to be the rhodie in peak bloom. All of flowers are open
and the color in good. The back deck is in one photo showing Ed's
handy work though he is still not done painting.


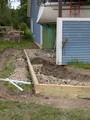
0613-drainage
The back section of the retaining wall is in. This was very hard work
moving the rock pile by dragging the pick and digging this out. It
should start to get easier.
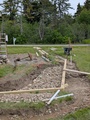
0616-retaining-wall
The retaining wall has finally pushed through the old rock pile,
turned the NW corner, and extended to the next bend.

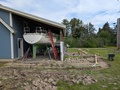
0617-retaining-wall
Room has been made to put some of the remnants of the old rock pile
behind the retaining wall where it is needed to support the weight of
whatever gets driven or parked in this area.
0619-retaining-wall
Nearly all of the prior rock pile is behind the retaining wall.
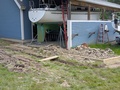
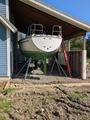
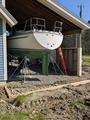
0620-tire-ditch
This photo is of the tire ditch that was created by parking the CP23
on top of the poorly supported ground here. This is what putting all
of these rocks here is trying to avoid.
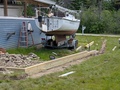
0621-retaining-wall
The entire old rock pile is now gone and moved behind the retaining
wall and a larger area has been dug out to take more rock. The next
corner of the retaining wall has been started.
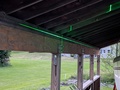
0622-laser-level
The laser level lines show that the carport footings have sunk be a
few inches.
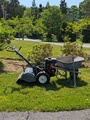
0623-power-weeding
There is now somewhere to move the rocks in the front yard
landscaping. This rock can be moved behind the retaining wall that is
by the boats. The front yard landscaping managed to get full of weeds
so the rototiller was used as a first pass of weeding. The next step
is to rake to remove rocks and weed remnants. In the last photo the
limelight hydrangea has been raked but little else.


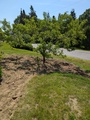
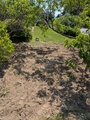

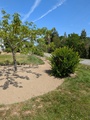
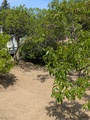
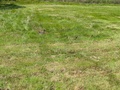
0627-more-weeding
The landscaping to the west of the larger peach tree has been raked at
this point. This week we had a three day heat wave, Monday to
Wednesday. The heat wave slowed progress. Once the whole area is
weeded and raked then mulch can be brought in to give this a finished
look. It has looked bad for far too long.